Retrodocumentation of Legacy Projects with AI: A Practical Guide for Gemini CLI, Claude Code, and GitHub Copilot
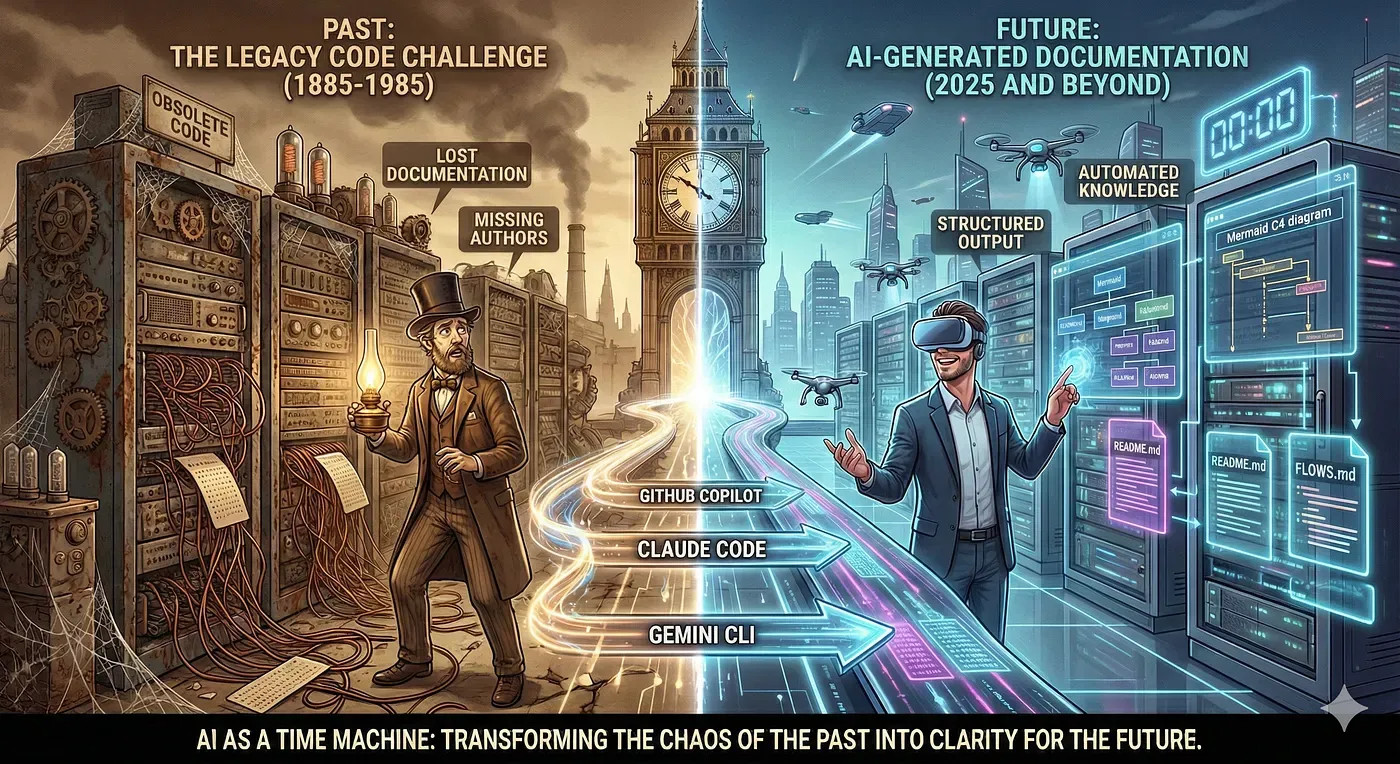
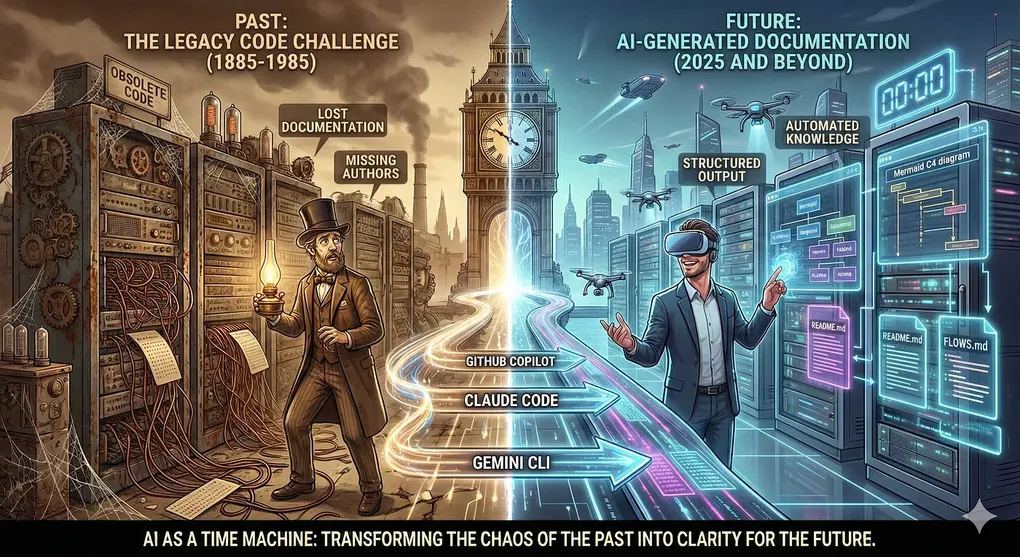
Every developer has encountered at least once in their career that legacy project: code written years ago, documentation nonexistent or outdated, and the original author long gone. The question is always the same: “What exactly does this thing do?”
In this article, I’ll walk you through the process I followed to create a reusable prompt that leverages the most popular AI tools to generate structured technical documentation, complete with Mermaid diagrams and Markdown files ready to be integrated into the repository.
We’ll see how to use the same approach with three different tools: GitHub Copilot, Claude Code, and Gemini CLI.
The Problem: Multi-Repository Projects Without Documentation
The use case that pushed me to develop this approach is common: an enterprise system composed of multiple interconnected repositories, developed over the years by different teams, with fragmented or completely absent documentation.
The objectives were clear:
- Understand application flows at a functional level
- Map dependencies between various components
- Produce documentation in a standard and maintainable format
- Automate the process as much as possible
The Solution: A Structured Prompt for Analysis
After several attempts, I developed a prompt that guides AI through a systematic analysis process. The prompt is structured in phases and produces output in Mermaid + Markdown format.
Anatomy of the Prompt
The prompt is divided into key sections:
# 1. Context and Role
Defines the "persona" the AI should assume (senior software architect)
and the overall objective.

# 2. Analysis Phases
Guides the AI through:
- Structure reconnaissance
- Flow identification
- Dependency mapping

# 3. Output Templates
Provides precise structures for:
- Main README.md
- Architectural diagrams (C4)
- Sequence diagrams for flows
- Class diagrams for domains
- Detailed FLOWS.md document

# 4. Rules and Constraints
Ensures consistency and readability of the output.
Practical Guide: GitHub Copilot
GitHub Copilot, integrated into VS Code or CLI, is probably the most widespread tool. Here’s how to use it effectively.
Setup
Make sure you have:
- VS Code with GitHub Copilot Chat extension
- Access to Copilot (individual or enterprise)
Recommended Workflow
Step 1: Open the workspace with all repositories
# Recommended structure
project-root/
├── repo-frontend/
├── repo-backend/
├── repo-shared/
└── ANALYSIS_PROMPT.md  # Our prompt
Step 2: Start with reconnaissance
In Copilot chat, use the @workspace command:
@workspace Analyze the overall structure of this project.
Identify:
- Application entry points
- Technologies used
- Architectural patterns

Produce a C4 Context type Mermaid diagram.
Step 3: Deep dive into individual flows
@workspace Analyze the user authentication flow.
Starting from the login controller/endpoint, trace all calls
to the database. Generate a Mermaid sequence diagram.
Step 4: Generate final documentation
@workspace Based on the analysis done, generate a complete FLOWS.md
file for the [flow name] flow following this template:
[paste the template from the prompt]
Tips for Copilot
- Use
@workspacefor queries requiring broad context - Use
/explainto understand individual files or functions - Break complex requests into multiple steps
- Always verify references to generated files
Practical Guide: Claude Code
Claude Code is a CLI tool that excels in analyzing complex codebases thanks to its extended reasoning capability.
Setup
# Installation
npm install -g @anthropic-ai/claude-code

# Authentication
claude login
Recommended Workflow
Step 1: Navigate to the project root
cd /path/to/project-root
claude
Step 2: Load the context
Claude Code automatically analyzes the structure. You can guide it:
Analyze this multi-repository project. Start by identifying:
1. The folder structure and their purpose
2. The main configuration files
3. The application entry points

Don't generate documentation yet, first give me a summary
of what you found.
Step 3: Generate diagrams
Generate a flowchart type Mermaid diagram showing
the order processing flow, from the moment the user
clicks "Confirm" to saving in the database.

Include all services involved and calls between them.
Step 4: Create documentation files
Create a docs/ARCHITECTURE.md file with:
- System overview
- C4 Container diagram in Mermaid
- List of repositories and their responsibilities
- Dependencies between modules
Tips for Claude Code
- Leverage “extended thinking” mode for complex analysis
- Use commands like
/initto configure the project - Claude Code can create files directly: explicitly ask to save the output
- For very large projects, analyze one repository at a time
Practical Guide: Gemini CLI
Google’s Gemini CLI offers an interesting alternative, especially for those already in the Google Cloud ecosystem.
Setup
# Installation
npm install -g @google/gemini-cli
# or
pip install gemini-cli

# API key configuration
export GEMINI_API_KEY=your_api_key
Recommended Workflow
Step 1: Prepare the context
Gemini CLI works well with explicit context files:
# Create a file with the project structure
find . -type f -name "*.java" -o -name "*.ts" | head -100 > file_list.txt

# Start Gemini with context
gemini chat --context "$(cat file_list.txt)"
Step 2: Incremental analysis
I have a multi-repository project with this structure:
[paste tree output or structure]

Analyze the configuration files and tell me:
- Which services are defined
- How they communicate with each other
- Which databases they use
Step 3: Diagram generation
Based on the analysis, generate a Mermaid diagram
of type graph TD showing the overall architecture.

Use subgraph to group components by repository.
Tips for Gemini CLI
- Gemini handles very long contexts well (up to 1M tokens)
- Use
-outputto save responses directly - For Google Cloud projects, it can integrate with other services
- Supports file upload for direct analysis
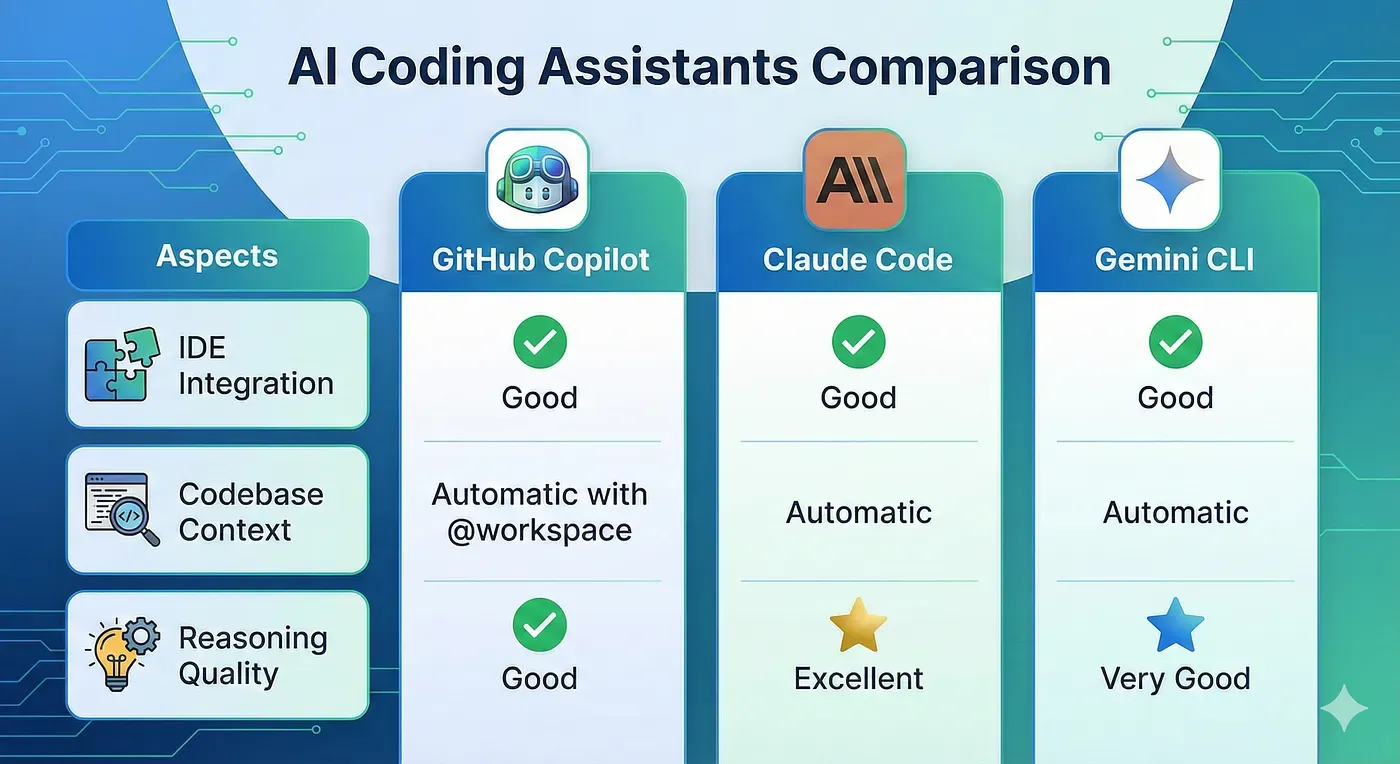
Tool Comparison
1. Iterate, Don’t Expect Everything at Once
Instead of asking “document the entire project,” proceed in phases:
- Architectural overview
- Main flow identification
- Deep dive on each flow
- Documentation consolidation
2. Always Verify the Output
AI can “hallucinate” references to nonexistent files or methods. Always verify:
- That cited files exist
- That method names are correct
- That described flows match the code
3. Use the Prompt as a Template
Adapt the prompt to your specific stack. If you work with Spring Boot:
## Specific Context
- Framework: Spring Boot 2.7
- Database: PostgreSQL
- Messaging: RabbitMQ
- Pattern: Hexagonal Architecture

Look specifically for:
- @RestController for endpoints
- @Service for business logic
- @Repository for data access
- @Configuration for configurations
4. Version the Generated Documentation
Treat documentation as code:
- Commit it to the repository
- Update it when the code changes
- Use PRs for significant changes
Complete Prompt Template
For convenience, here’s the complete prompt ready to use. Save it as ANALYSIS_PROMPT.md in your project root:
# Multi-Repository Project Analysis and Documentation

## Context
You are a senior software architect specialized in reverse engineering
and technical documentation. Analyze this legacy multi-repository project
to produce documentation in Markdown with Mermaid diagrams.

## Technology Stack
[CUSTOMIZE: describe your project's technologies]

## Phase 1: Reconnaissance
Analyze the structure by identifying:
- Application entry points
- Configuration files
- Architectural patterns
- External dependencies

## Phase 2: Flow Mapping
For each main flow, document:
- Trigger (API, event, scheduler)
- Components involved
- Operation sequence
- Output and side effects

## Phase 3: Required Output

### README.md
- Functional overview
- Mermaid architectural diagram
- Repository structure
- Quick start

### FLOWS.md
For each flow:
- Functional description
- Mermaid sequence diagram
- Table of components involved
- Error handling

### Mermaid Diagrams
- C4 Context/Container for architecture
- Sequence for flows
- Flowchart for complex logic
- Class diagram for domains

## Rules
1. Max 15-20 nodes per diagram
2. Use subgraph to group
3. Include references to source files
4. Highlight identified technical debt
Conclusions
Retrodocumentation of legacy projects is no longer a titanic undertaking. With the right AI tools and a well-structured prompt, it’s possible to generate quality documentation in a fraction of the time that manual analysis would require.
The key to success lies in:
- Structuring requests well with specific prompts
- Proceeding incrementally instead of asking for everything at once
- Verifying and refining the generated output
- Adapting the approach to the tool being used